How to: Crate Seats

The first time I saw someone post about crate seats, I knew I needed them in my classroom. After switching over to flexible seating, I’m always on the lookout for any new seating options. I especially love if something can double as storage.

I recruited my mom as I always do for most of the DIY projects I take on for my classroom. So give her a round of applause for helping with these!

Let’s start with what you need to make your own crate seats:
-Crates
-Fabric (I bought two yards for four crates)
-Ribbon
-Scissors
-Stapler (the heavy duty kind, not what you have in your classroom!)
-Plywood (sizing will vary depending on what crates you are using)
-Cushioning of whatever kind you choose (I used an old memory foam bed topper)

Step 1: Measure and cut your plywood to fit the inside of the crate you are using. We literally DIY’d this with plywood and other wood we had from other projects. However, you can take your crate to somewhere like Home Depot and they will measure and cut the plywood for you.
IMG_2179                                  IMG_2180

IMG_2178

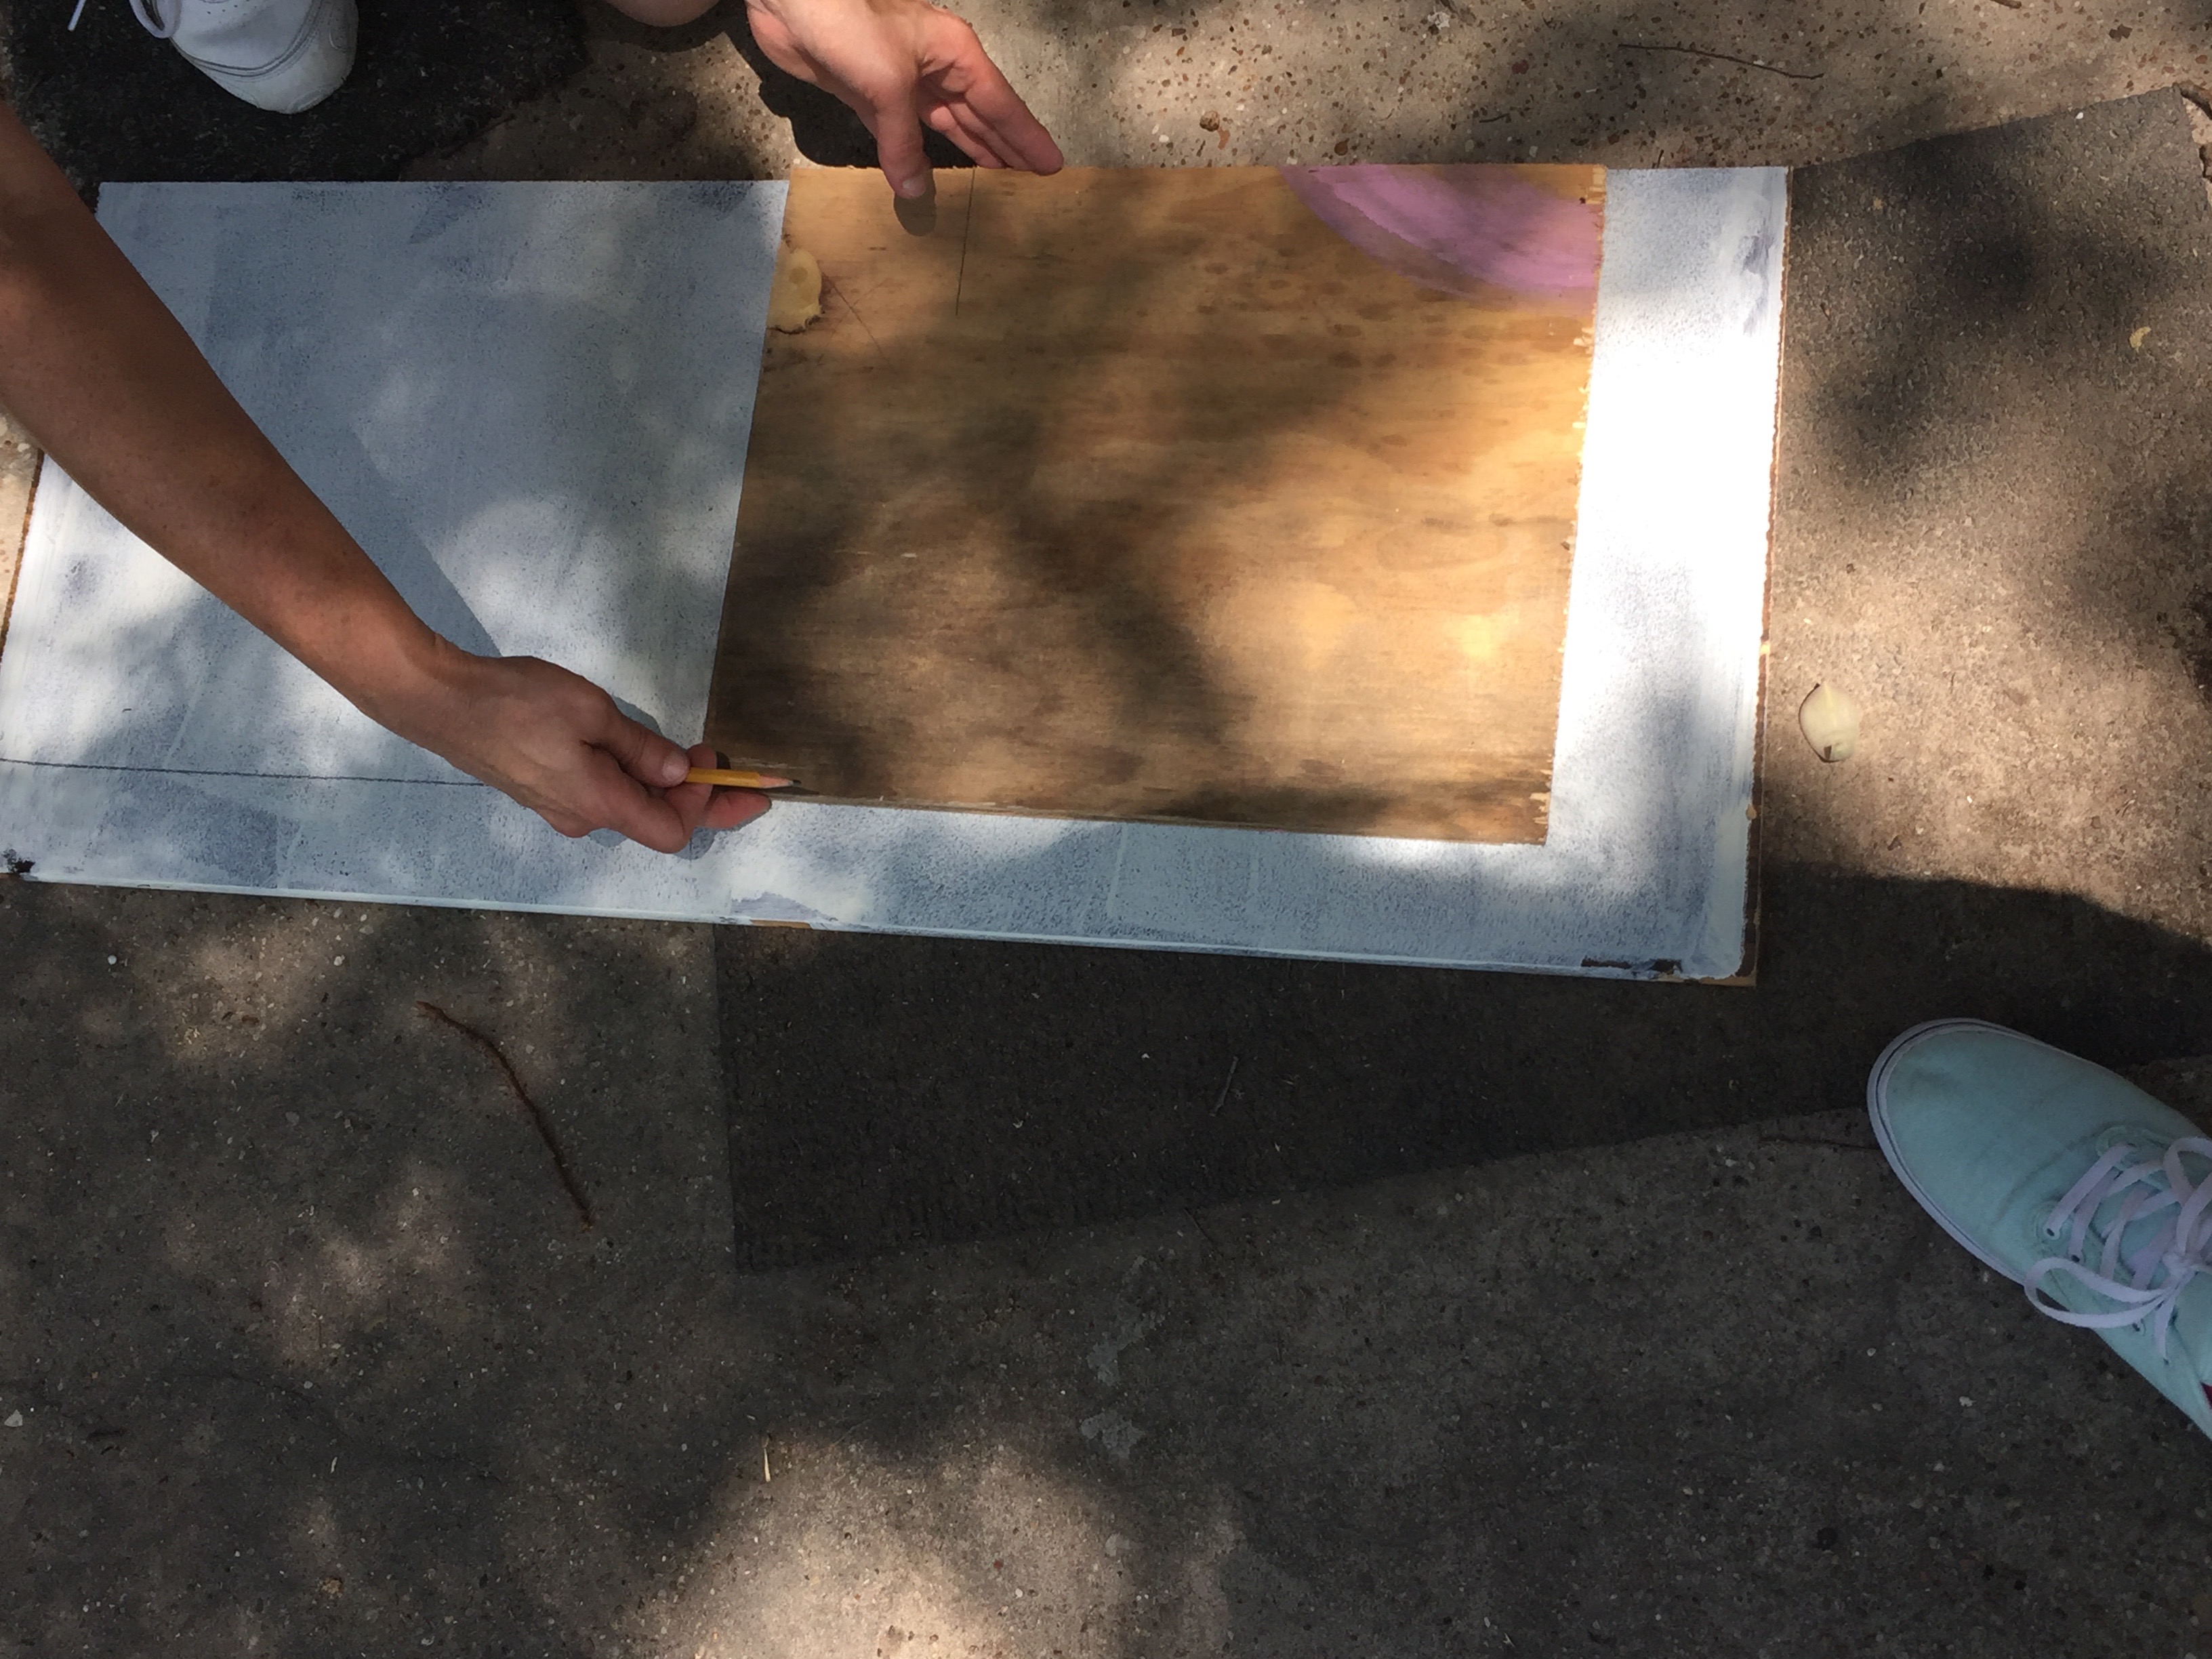
As you can see it fits perfectly inside the crate!

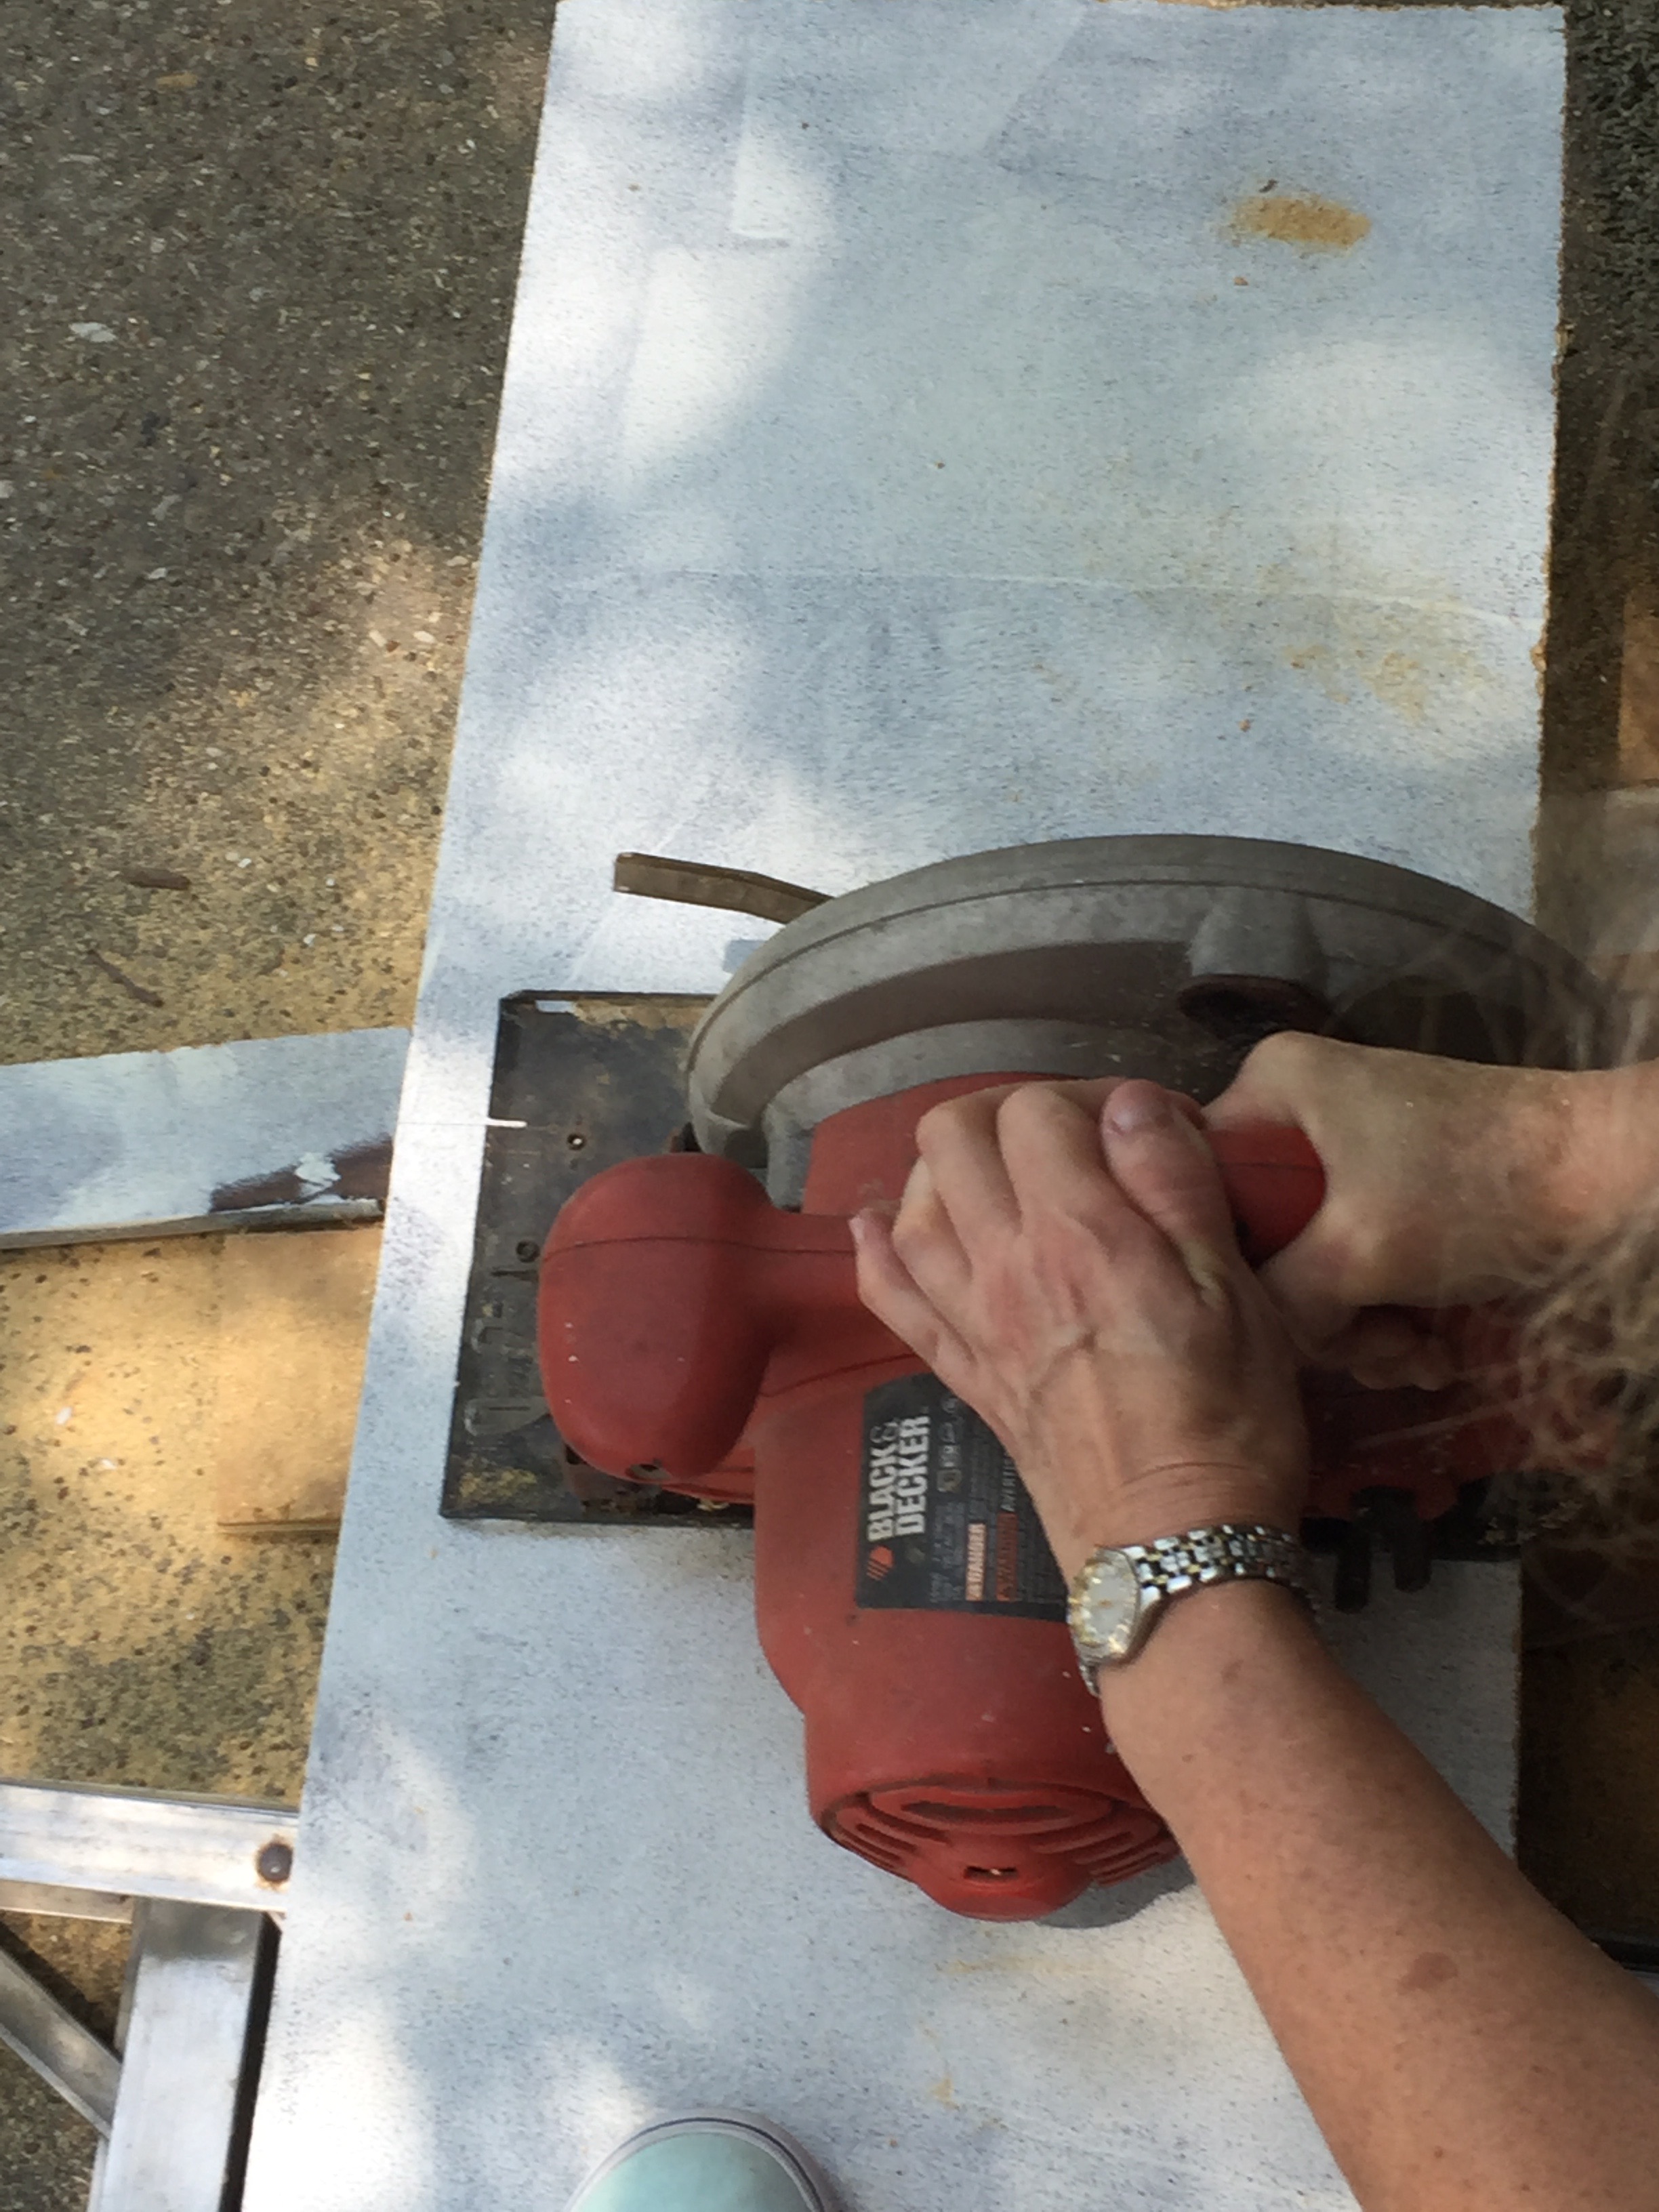
Step 2: Cut your cushioning to fit the tops of the wood.

IMG_2182      IMG_2183

*Tip: We used spray adhesive on top of the wood before adding the foam to help it stay put better.

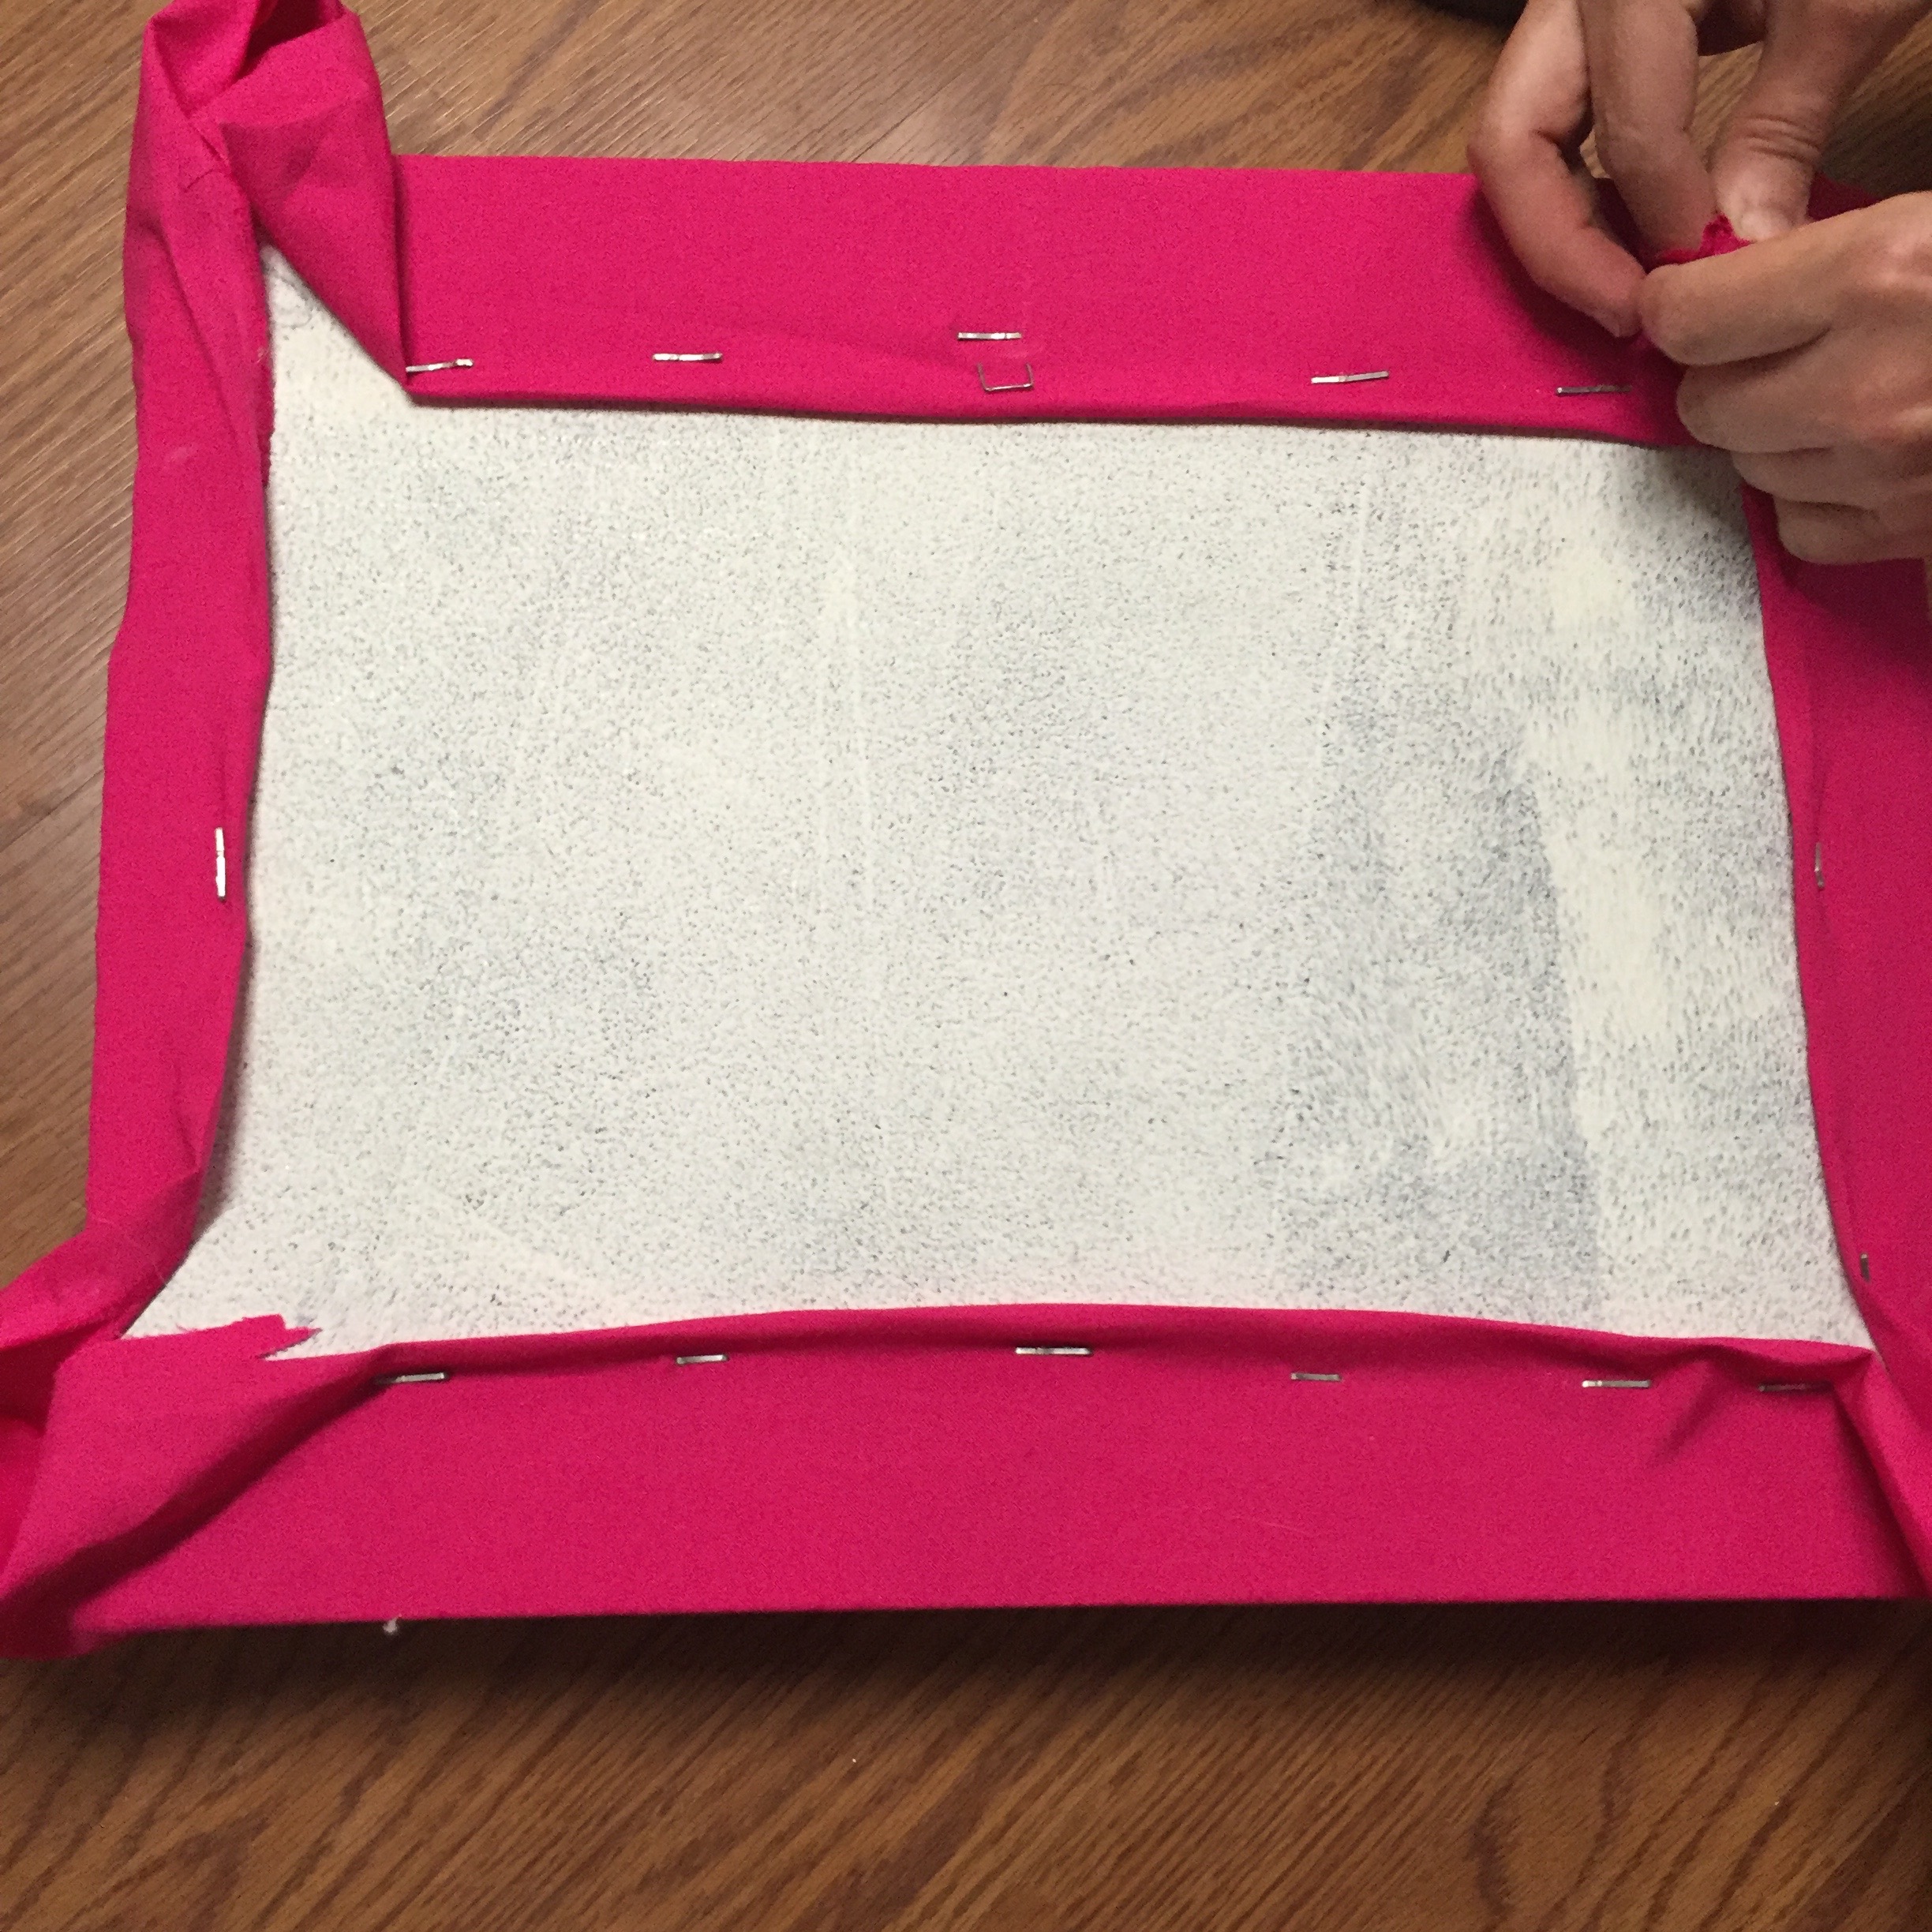
Step 3: Cut your fabric to fit allowing for some overlay to staple the bottom. There’s no need to cover the entire wood top and bottom since nobody will see the bottom.

IMG_2185

Step 4: Cover seats with the fabric and staple bottom securely. Cut and fold corners if needed.

IMG_2187

Step 5:  Add ribbon. I do not have a photo of stapling the ribbon. All you need to do it make your ribbon into a loop however long you want it. Staple it to the bottom of the seat where it will stick out of the crate. This allows you to easily remove the seat top from the crate at any time. You can clearly see the ribbon in the photo below.

Step 6: Admire your adorable new crate seats!

IMG_2189

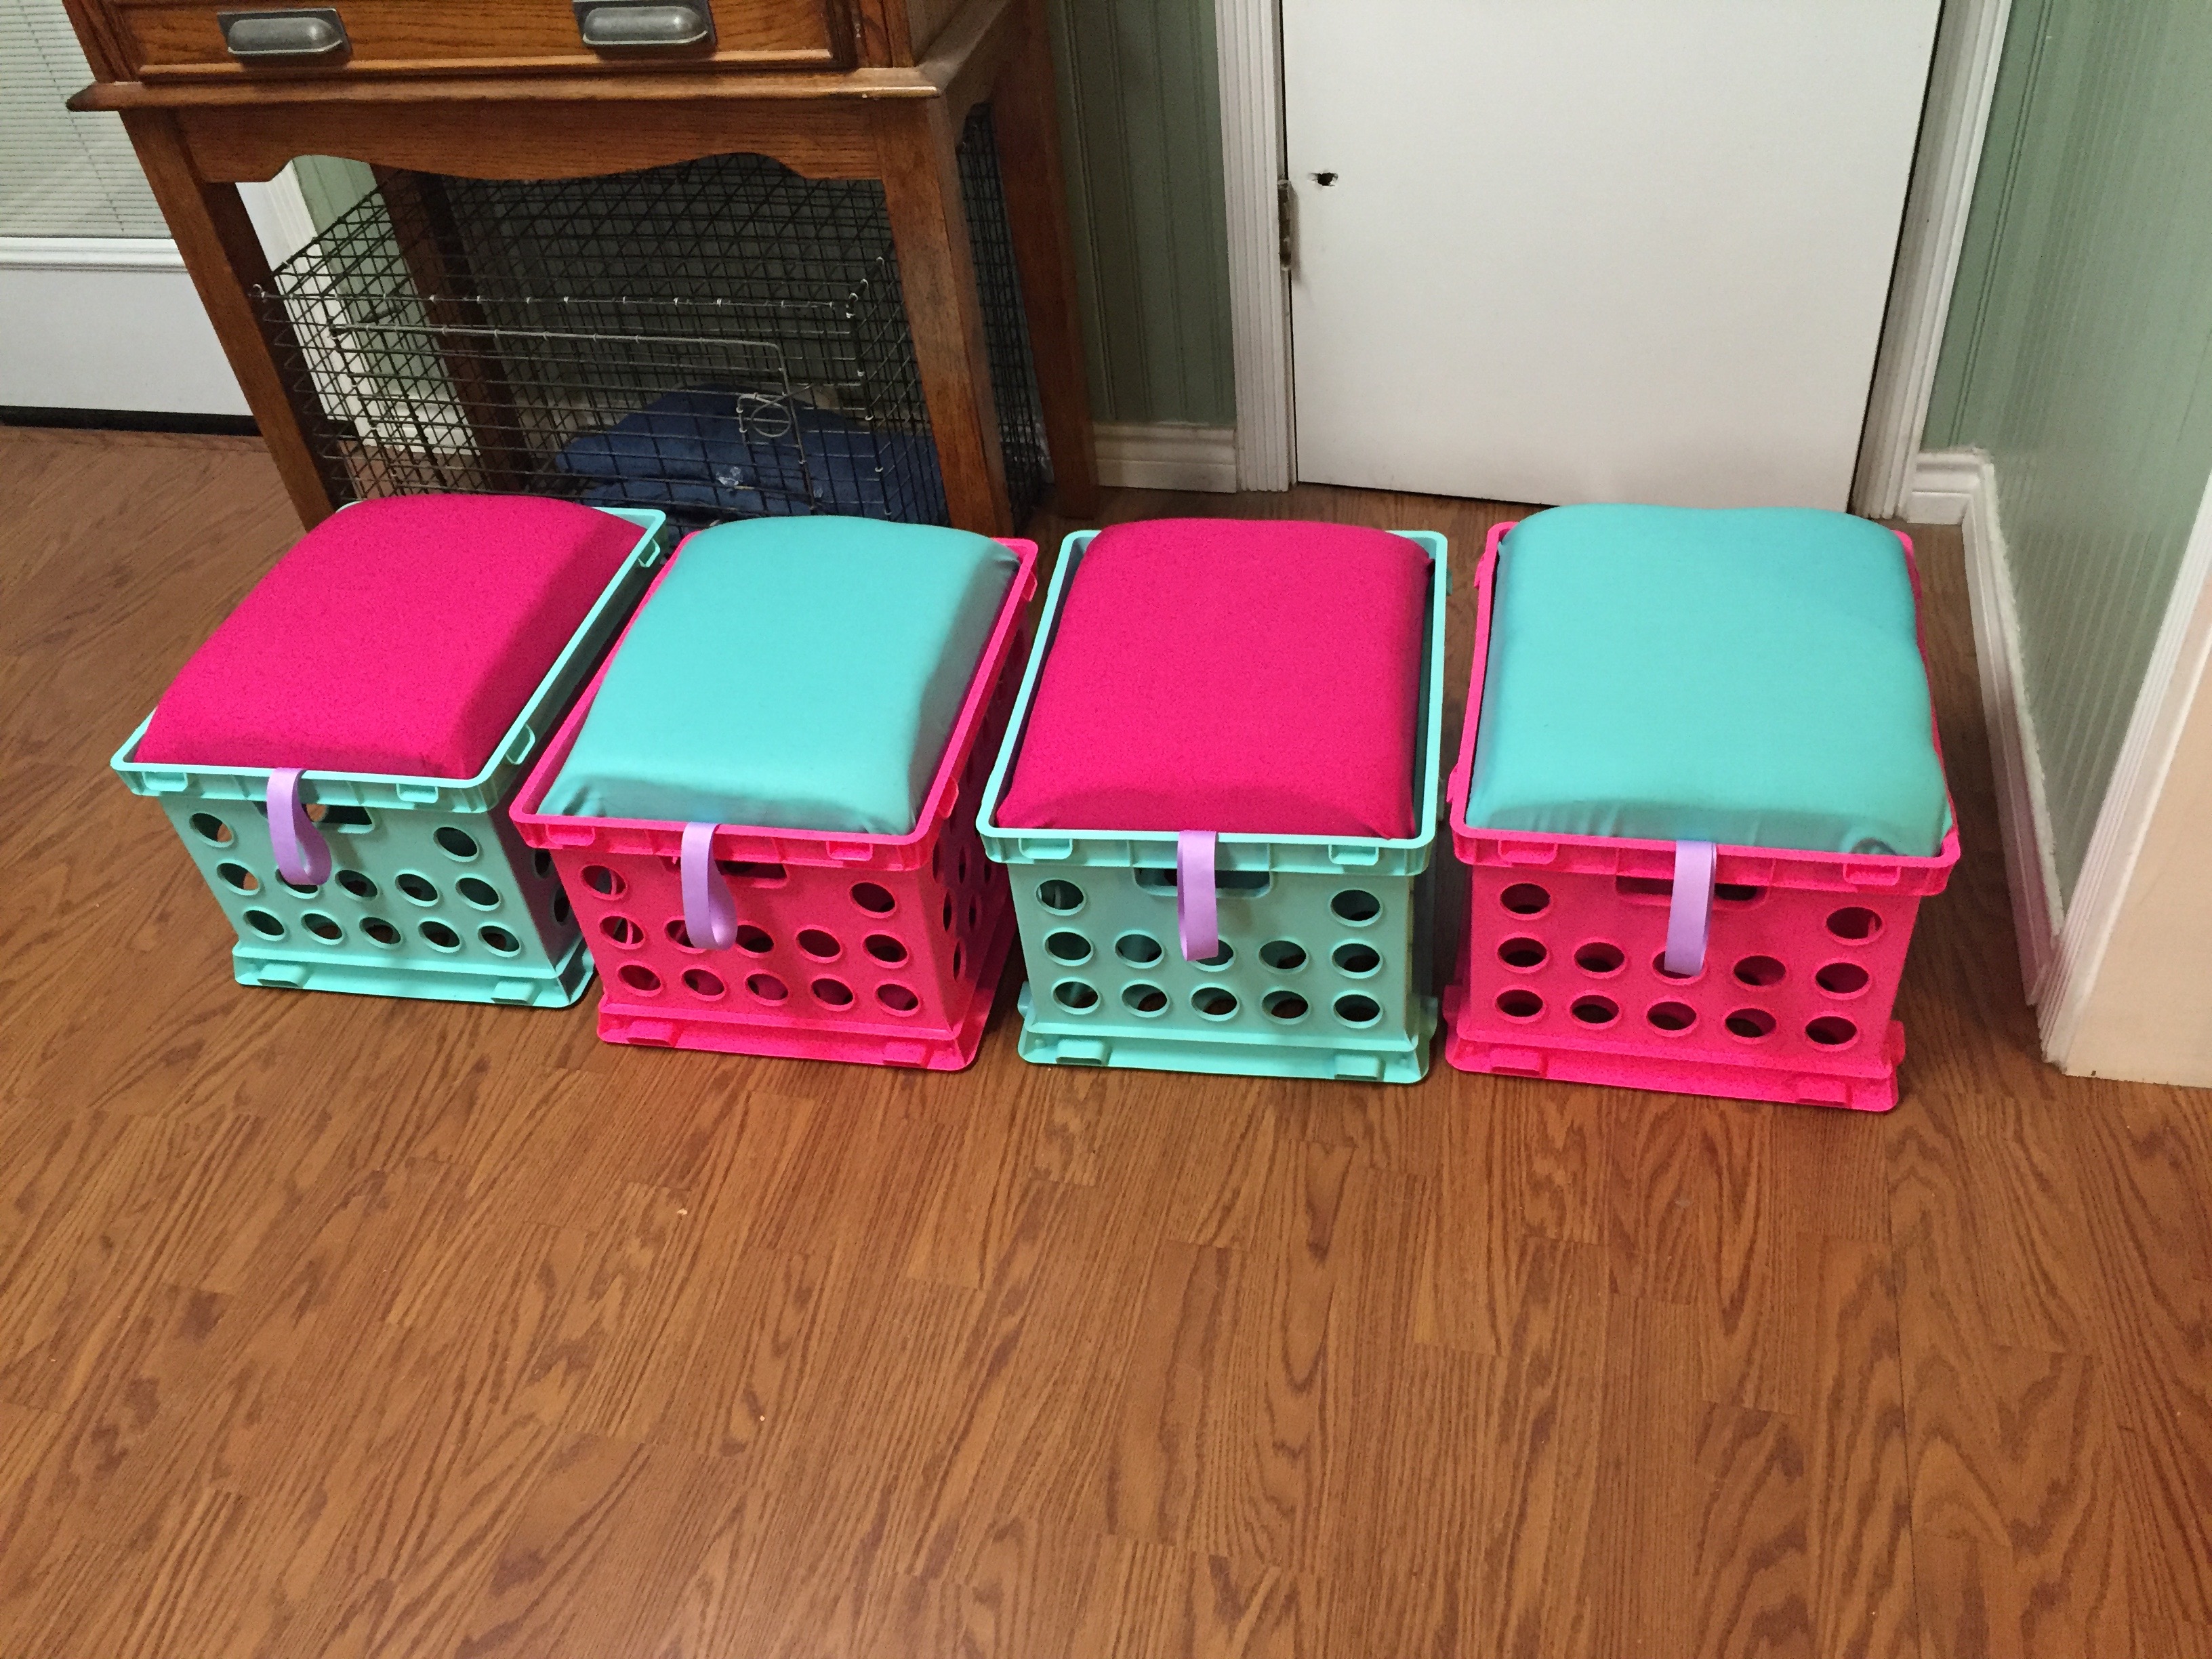
I think these seats are some of the cutest things EVER! Seriously. I also personally tested each seat to make sure kids will not fall through them and that they are secure.

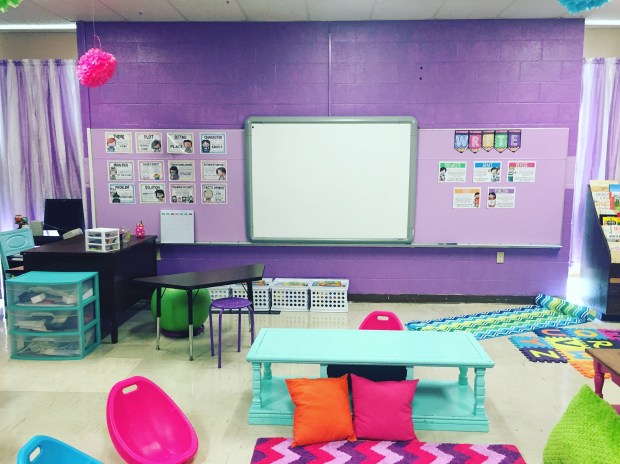
Below are what they look like in my flexible seating classroom.

IMG_2194

-Miss Layfield

Whoa. Your room is purple?!

Yes, my room is purple. Yes, we painted it that way.

First of all, let me say I’m super lucky to work at a school that allows its teachers to paint and decorate their rooms however they want (of course there are still guidelines, but you get the picture).

When I first started back in January, I didn’t imagine I’d really do anything to the classroom I was given. The room still had some decorations left by the previous teacher. The walls were the same white walls I remembered from being in school there. In fact, I’m teaching second grade in the exact same classroom I was in second grade in. The room had many great memories for me and I knew I wanted to make those same memories for my students.

Being brand new to the teaching thing, I did not fully understand how much a classroom can influence the learning for a student. As I started slowly decorating the room with a few things here or there, I noticed how much more excited and happy the kids were with the room. They even told me how much they loved what I was doing with it.

I told myself I wasn’t going to paint anything in my classroom until I had passed all my certification tests and knew I’d be in that room another year at least. I also already knew I was going to paint it purple if that happened.

Why purple? Other than the fact that it is my favorite color, I think it sparks creativity and learning in kids. In fact, there is research that shows that. I read it somewhere so it has to be true, right?! Ha.

April came and I had secured that I’d be in my room another year and so the painting began. Big shout out to my mom because she’s the one that painted all the walls and my door. I was sad the students I had this past half a year didn’t get to see the finished product. However, I was pleased with how much they loved what I got to do while they were there.

Once school was out for summer, Mom and I headed immediately back to the school to finish the walls. Here is the finished product on the walls…

IMG_1556

The light purple actually wraps around the whole room in a stripe. Brilliant idea from my mom and I absolutely love it. I think it’s so much brighter now and just a happier place to be.

Then, there’s my door…

IMG_1761

I can’t tell you how much I love my green door. It’s the perfect color to compliment the purple everywhere else.

You may be wondering why I don’t have desks and if you’ve never heard of flexible seating before you need to look it up. I’ll do a post sometime soon about that, I promise.

“What’s the name of that color?”

Well, I’m glad you asked…

All colors are Glidden. The dark purple is Orchid Blush (GLD3031). The light purple is Sugared Plum (GLD3011). The green is Granny Smith Apple (GLN6212).

In case you couldn’t tell, I absolutely, completely, utterly, 100% LOVE my classroom!


-Miss Layfield